21 October, 2012

Sunday Surprise: Red Riding Hood Costume!

Happy Sunday afternoon everyone!

I'm sorry that today's Sunday Surprise is coming to you so late, but I have been working vigorously all weekend to finish my red hooded cloak for my costume to show you, and I have just finished this afternoon!


While I was in Seattle, I saw this super cute dress at TJMax that I had to have because it reminded me of Red Riding Hood for some reason. So I decided to buy it and use it for Halloween, but this dress is so cute I've been wearing it casually :)

After that dress, my quest for an awesome red hooded cloak began. I have a very specific idea of what the cloak should look like. The cloak should be legit, long and with a big over-sized hood. I didn't want the half length cloak made of thin costume material. I wanted this to be semi-heavy, covers all of me if I wanted and flow well, like Red's cloak from Once Upon A Time or Amanda Seyfried's in the 2011 Red Riding Hood film.

I searched online and there are some good and not so good tutorials out there for cloaks. Most of them weren't what I was looking for specifically. And I looked on Etsy, and the cloak that I wanted went for $200 - no way. So on my search I finally found a site that referred me to the Simplicity pattern #5794 that I bought from Joann's for $1. Finally, a pattern that I liked. I chose to make cloak C (which is the green cloak in the bottom right of the Simplicity image). The body turned out great but the hood just was not what I was looking for. So my quest continued, until I found this video on Youtube on how to make a cloak (click on the link if you'd like to see it). The instructions were kind of hard to follow but the little bit that I did understand, I used that to improvise and voila! Although the tutorial was for a knee-length cloak, the hood was exactly what I was looking for: over-sized and slouchy hood :) So I went for it and it turned out fantastically!


The image on the left is the cloak with the original hood from the pattern. I really disliked it, so I took it off and went for the other hood I found at the youtube tutorial I linked above. The image on the right is the complete cloak with the second hood. Although you can't see the new hood on that image, the image below shows the cloak with the second and final hood.
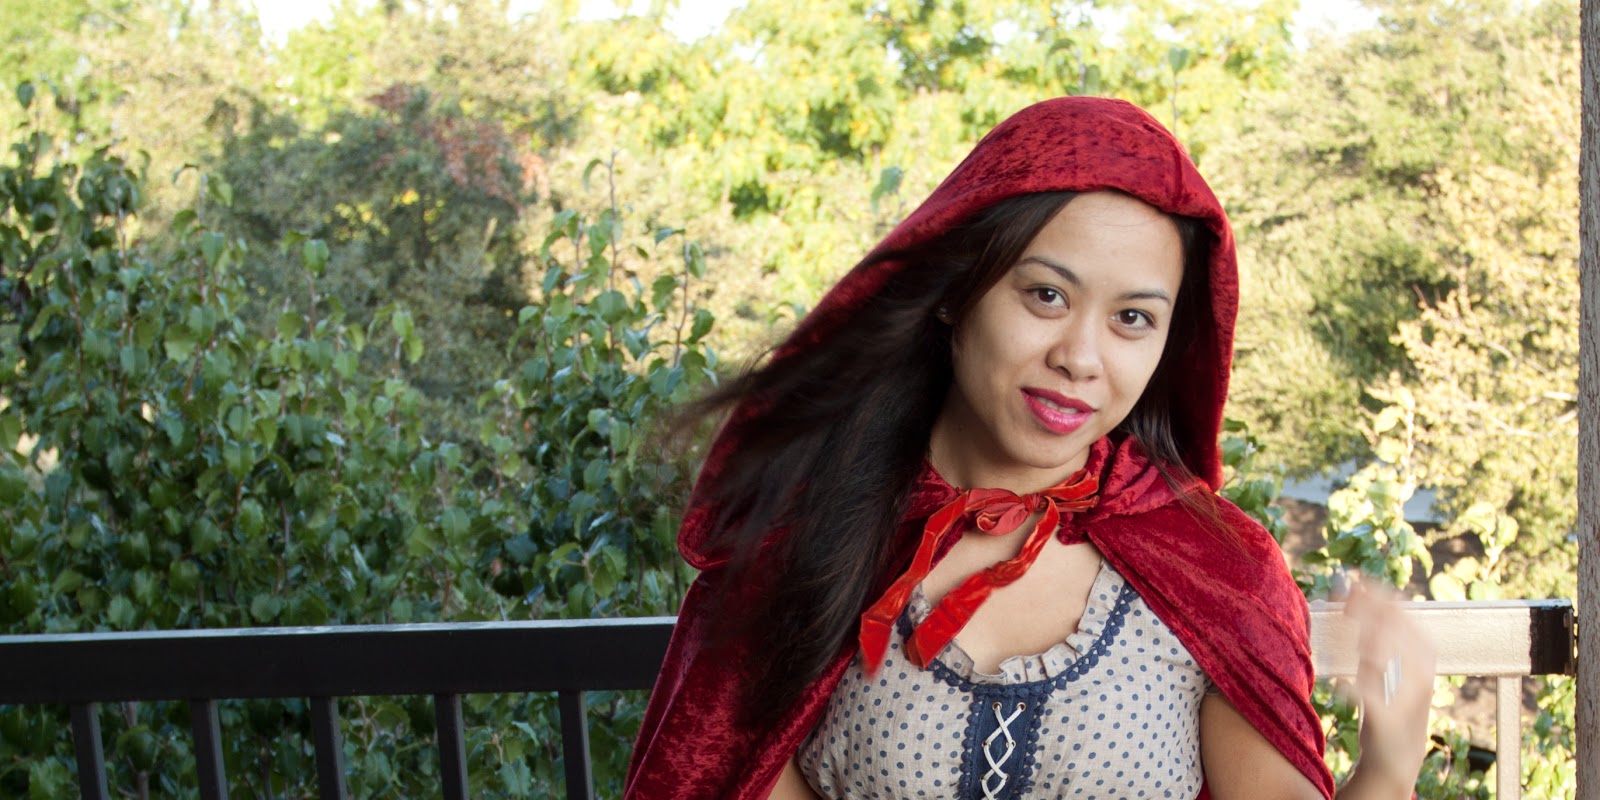

I had so much fun making this! It was a great first major project from scratch on my new sewing machine. I made so many mistakes on this project but I survived and I am so glad I stuck it out. If you have any specific questions about how I made this cloak, leave a comment and I'll be sure to get back to you! Also, since you know that I will be Red for Halloween, I would love it if you shared what you were thinking for your costume :)

I hope you all had a wonderful weekend. See you on Tutorial Tuesday when I take you through the next step in canvas-making. Take care!

<3 Kara

19 October, 2012

My First Giclee Print: Girl and Dragon

Hey everyone!


I couldn't wait to share with you all some exciting news! As you know I have ordered my very first giclee print and I finally picked it up today! There were some complications with the printer (as in it broke) so I had to wait an extra week for them to order a new special printer before it was ready. I'm so happy with the results and so I took some pictures for you :)

Here is me with the unveiling of the amazing print! It's the the first time I've seen it though, since I had to see it at the print shop to confirm, but still, that sounds way more dramatic. In any case, I was still happy to see it again. The owner of the print shop (River City Digital Graphics), Jim commented that he liked the painting and that I did a great job with it :) That was so great to hear, especially since he has been painting for a very long time. He also said that I did a great job with the digital image as it looks as good as if it were scanned (I took a picture with my camera with strategic lighting). That also was amazing to hear; it's always good to get confirmation that you are doing a good job.

Now that I have an archival quality print of this painting, I will be happy to share both with Andi and have him pick which ever one he wants to have. After all, this painting wouldn't have existed without him.

So that was my exciting news for today. That makes two posts in one day! Yowza :) Until next time!

<3 Kara

Factual Friday: Frida Kahlo

Good morning Lured Ones!

Welcome to the first of many Factual Fridays!


Autoretrato en la Frontera entre Mexico y lost Estados, 1993

While reading through my art history book (History of Art from the Middle Ages to the Renaissance, Impressionism and Modern Art, 2008), the description for Frida Kahlo's ((1907-1954) information caught my eye. Among the insight into the beginnings of why she started painting and what her paintings reflect, there was a quote by Andre Betron that described her art as "like a ribbon tied around a bomb" that I found extremely moving.

Although she had no intention of being an artist, a bus accident that left her severely injured and spent over a year in bed to recover, and in her convalescence she began to paint. At this time, her work consisted mainly of self portraits and still life. At age 22 Kahlo married a famous muralist Diego Rivera who was 20 years her senior. Their artistic temperament, infidelities as well as her poor health and inability to bear children resulted in a stormy marriage with divorces and remarriages. Much of Kahlo's work during this period describes the pain she suffered. Not only that, but also the pain of women in general were dominant features in her paintings, expressed in a surreal way and often vibrant with intensity and passion.

In her artistic career Kahlo produced 143 paintings alone, 55 of which are self-portraits. When asked why she painted so many self-portraits, Kahlo replied "because I am so often alone... because I am the subject I know best."

With that said, two of Kahlo's works are featured on this post. For more, please click here: List of selected works. You can also google "Frida Kahlo" and will also find plenty of information and other works. Enjoy!


The Two Fridas, 1939
Oil on canvas, 68 x 68 in. (173 x 173 cm), Museo de Arte Moderno, Mexico City

I hope you liked this first Factual Friday, and if you did, don't forget to share it with those who will also find this interesting. See you on Sunday for a Sunday Surprise!
<3 Kara

Resources:

16 October, 2012

Tutorial Tuesday: How to Make a Canvas Board/Panel

Good afternoon everyone!


Today features the first installment of Tutorial Tuesday! I've decided to do a tutorial on how to make a canvas board. I've stretched canvases before, but have yet to make a canvas board. There was a simple How To in one of the books I owned and thought it would be a fun first tutorial for this series. I also did a bit of research just to see what others are doing out there to make their canvas boards, and adjusted a template of how I would do it.

As you are watching this video, please keep in mind that I am doing this tutorial for the first time with you. I have never done this before, so I will be making mistakes as someone doing something for the first time might. With that said, enjoy! And don't forget to come back for the first Factual Friday on Be Lured on... you guessed it, Friday!

<3 Kara